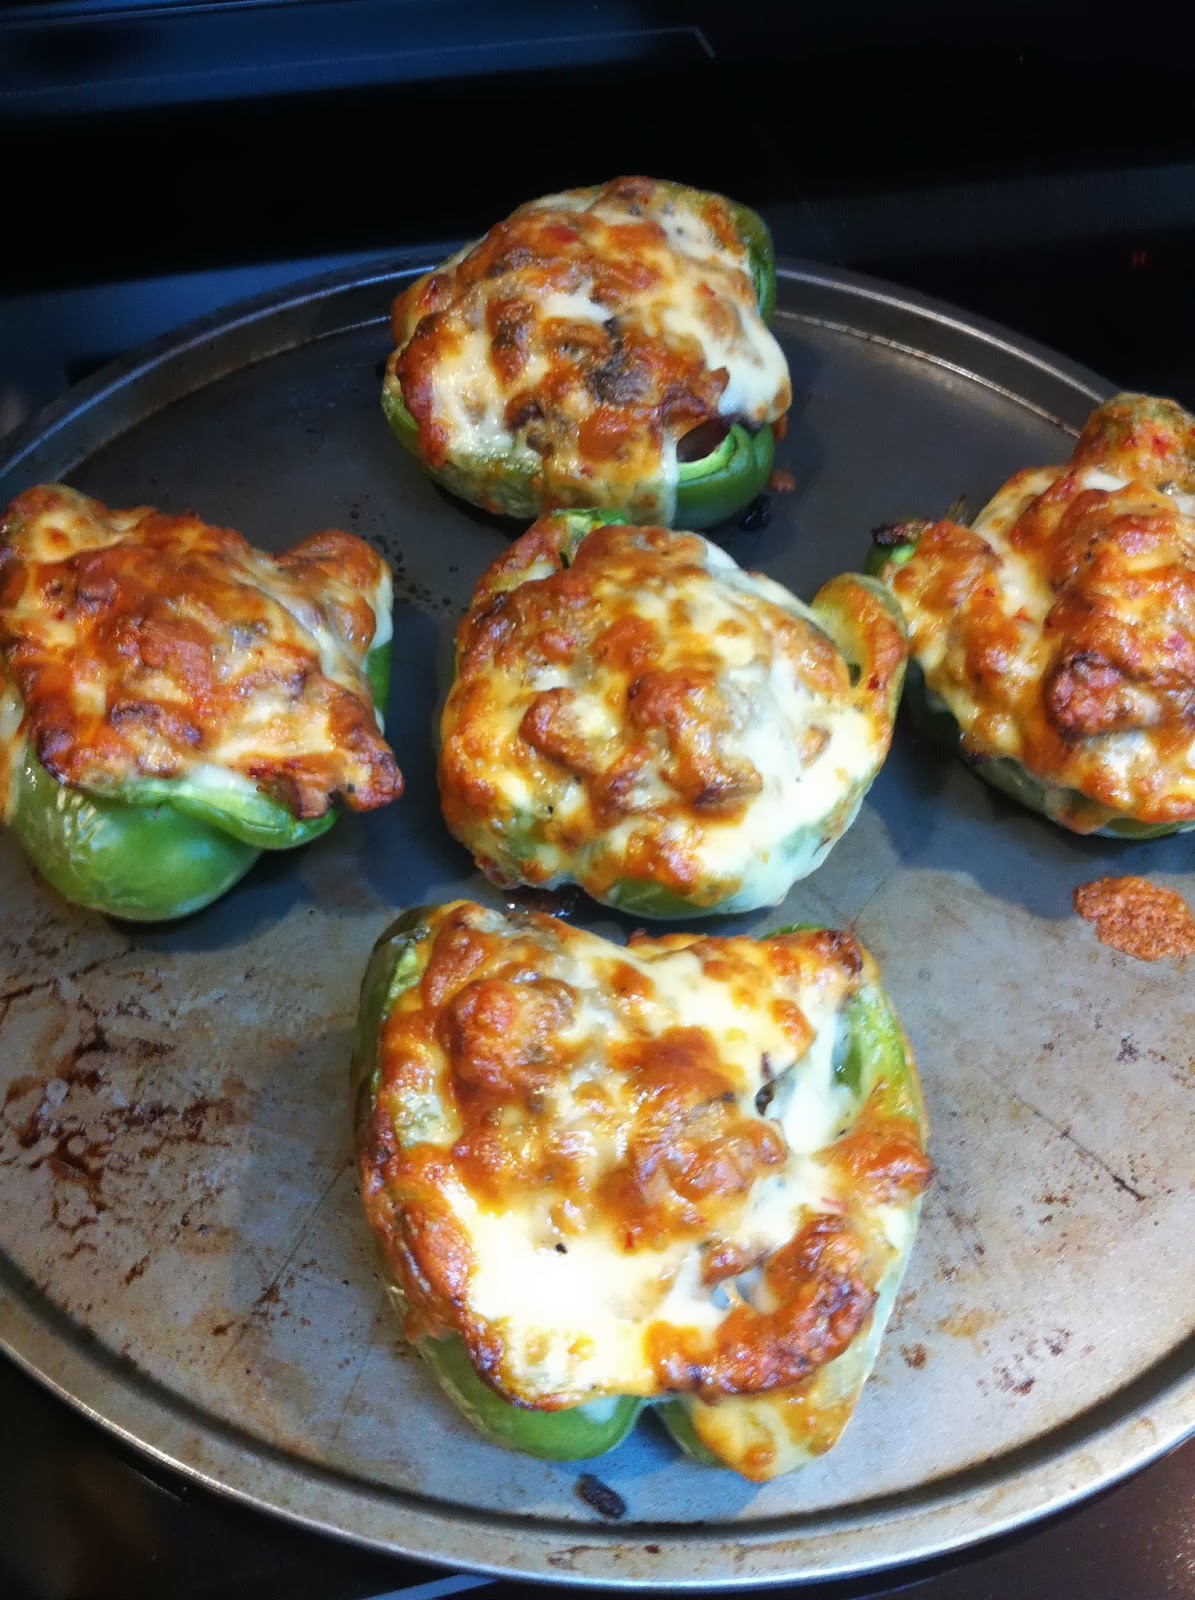
As soon as I saw this recipe I knew I had to try it. But donuts aren't something we eat a lot of and so I was waiting for the right opportunity to make them. I was really intrigued by the idea and finally I got the chance to try them.
I'm going to critique these because I really like the idea of them, but the donut itself really did nothing for me. The margarita curd filling was absolutely amazing and I am trying to think of something else to make that would use it because it is so great. The donut dough portion was not the right thing for this amazing curd.
I've never tried making donuts before. I don't deep fry anything and so the idea of a baked donut intrigued me. Unfortunately, this baked donut tasted a lot like a dinner bun. They looked beautiful and very much like a donut, but when you bit into them they were just like eating bread. I don't know if this is how all baked donuts turn out, or if this was just because of the recipe.
The other problem with this was I made these and then put them in a container and carted them around for eating the next day. A mistake. I don't know why I thought this would be a good idea. You'd never eat a bought donut the next day. They sweat when stored in a container or even a paper bag and they aren't good. Basically, I ended up throwing out almost a dozen and a half donuts because of this mistake.
I would like to try them again, but with a different donut dough. I'll have to do a bit of research because I'm really not at all familiar with donuts and then maybe you'll hear back from me some day. The one good thing about this recipe though was that you did not need to deep fry them, and you didn't need one of the fancy donut pans.
Recipe from
Searching for Dessert.
Makes 12 donuts
Ingredients
Donuts
1 Heaping Tsp. Instant Yeast
6 1/2 Tsp. Sugar
1 1/4 C. Flour
1/2 C. Warm Water
1/2 Tsp. Salt
1/4 Tsp. Baking Powder
1 1/2 Tbsp. Butter, melted
Margarita Curd
6 Tbsp. Butter, melted
6 Tbsp. Sugar
Zest of 2 Limes
1/4 C. Lime Juice
1 1/2 Tbsp. Tequila
Glaze
1/4 C. Berry Sugar
1 Tsp. Orange Zest (1/2 Orange)
1-2 Tbsp. Butter, melted
Directions
Donuts
~Combine all ingredients of the bowl of an electric mixer. Mix to combine and then knead for 5 minutes. If dough is very sticky, increase flour until it forms a nice ball of dough.
~Place dough in an oiled bowl and cover with an oiled piece of plastic wrap and a towel and place in a warm spot and allow to rise to double it's size (1 hour) or place in a cool spot and allow to rise overnight.
~Preheat oven to 350 F.
~Roll dough out onto a floured surface with a floured rolling pin to about a 1/4 inch in thickness.
~Using a 3 inch round cookie cutter (or glass) cut rounds from the dough.
~Place on a floured cookie sheet.
~Cover loosely with oiled plastic wrap and allow to sit and rise for 45 minutes - 1 hour.
~Bake for 12-13 minutes or until the edges just begin to turn golden.
~Allow to cool.
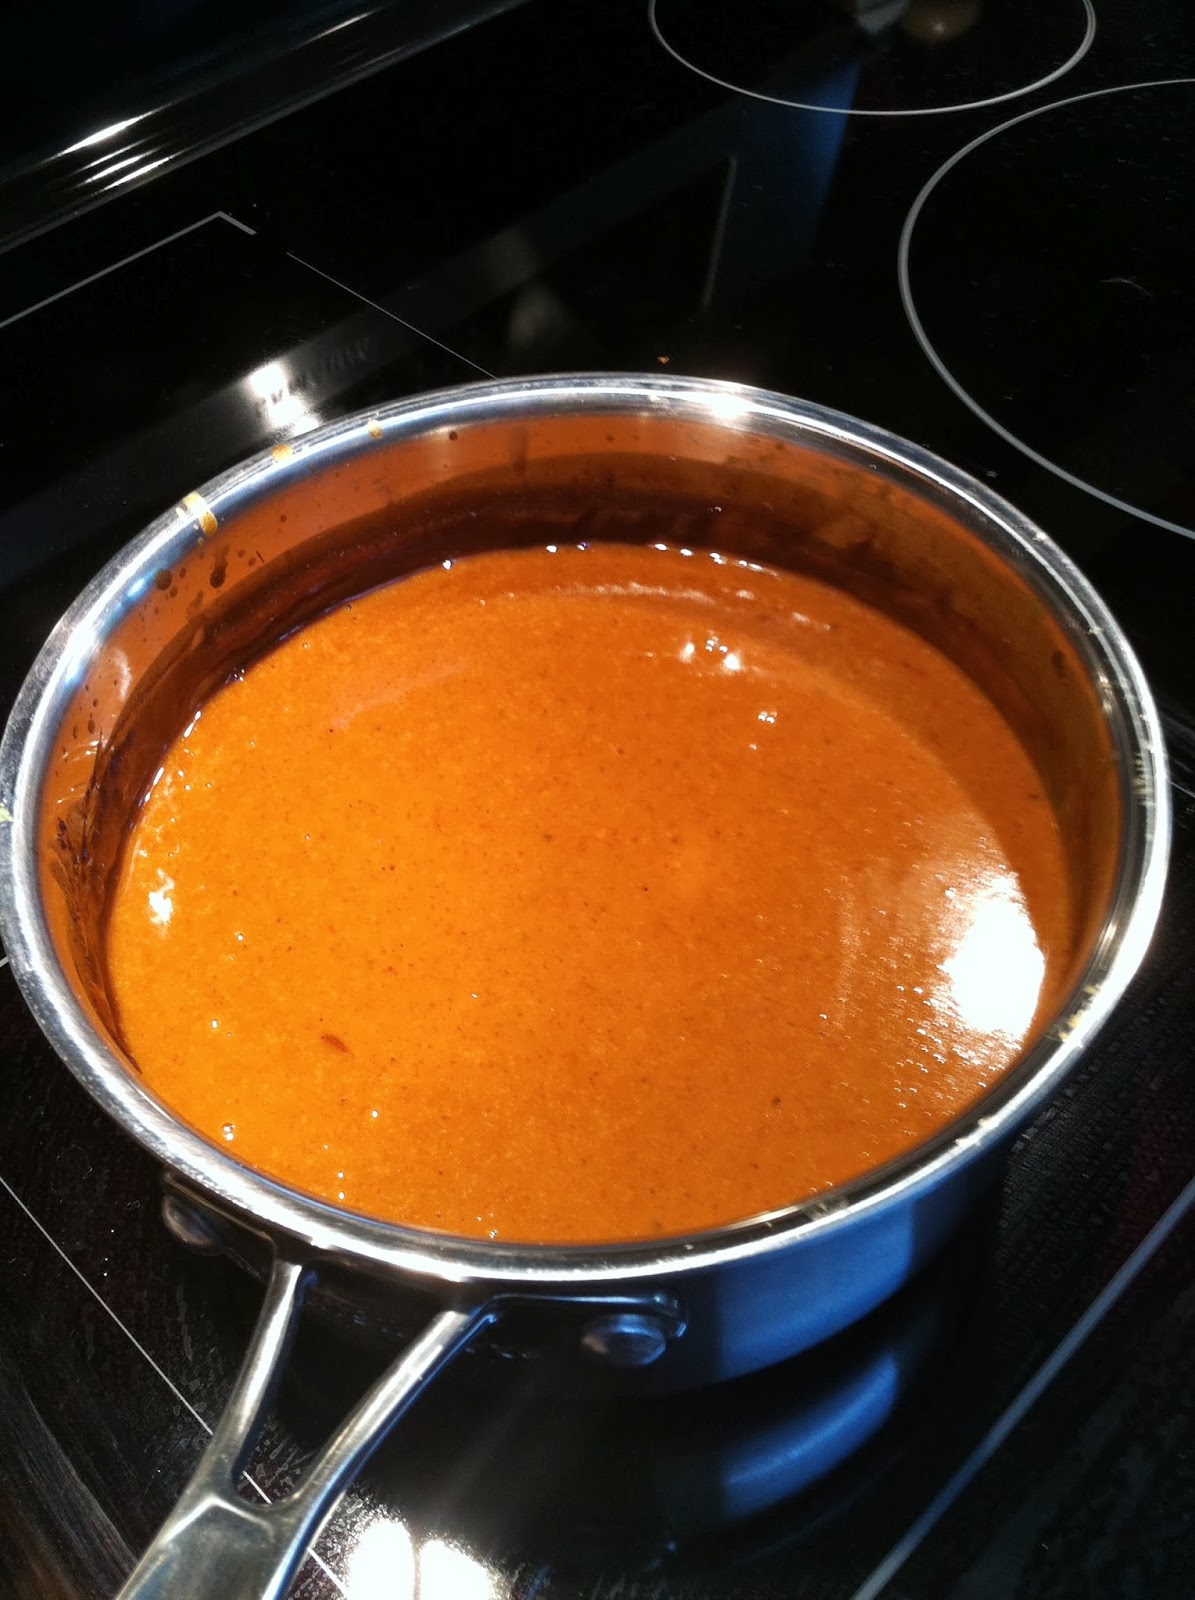
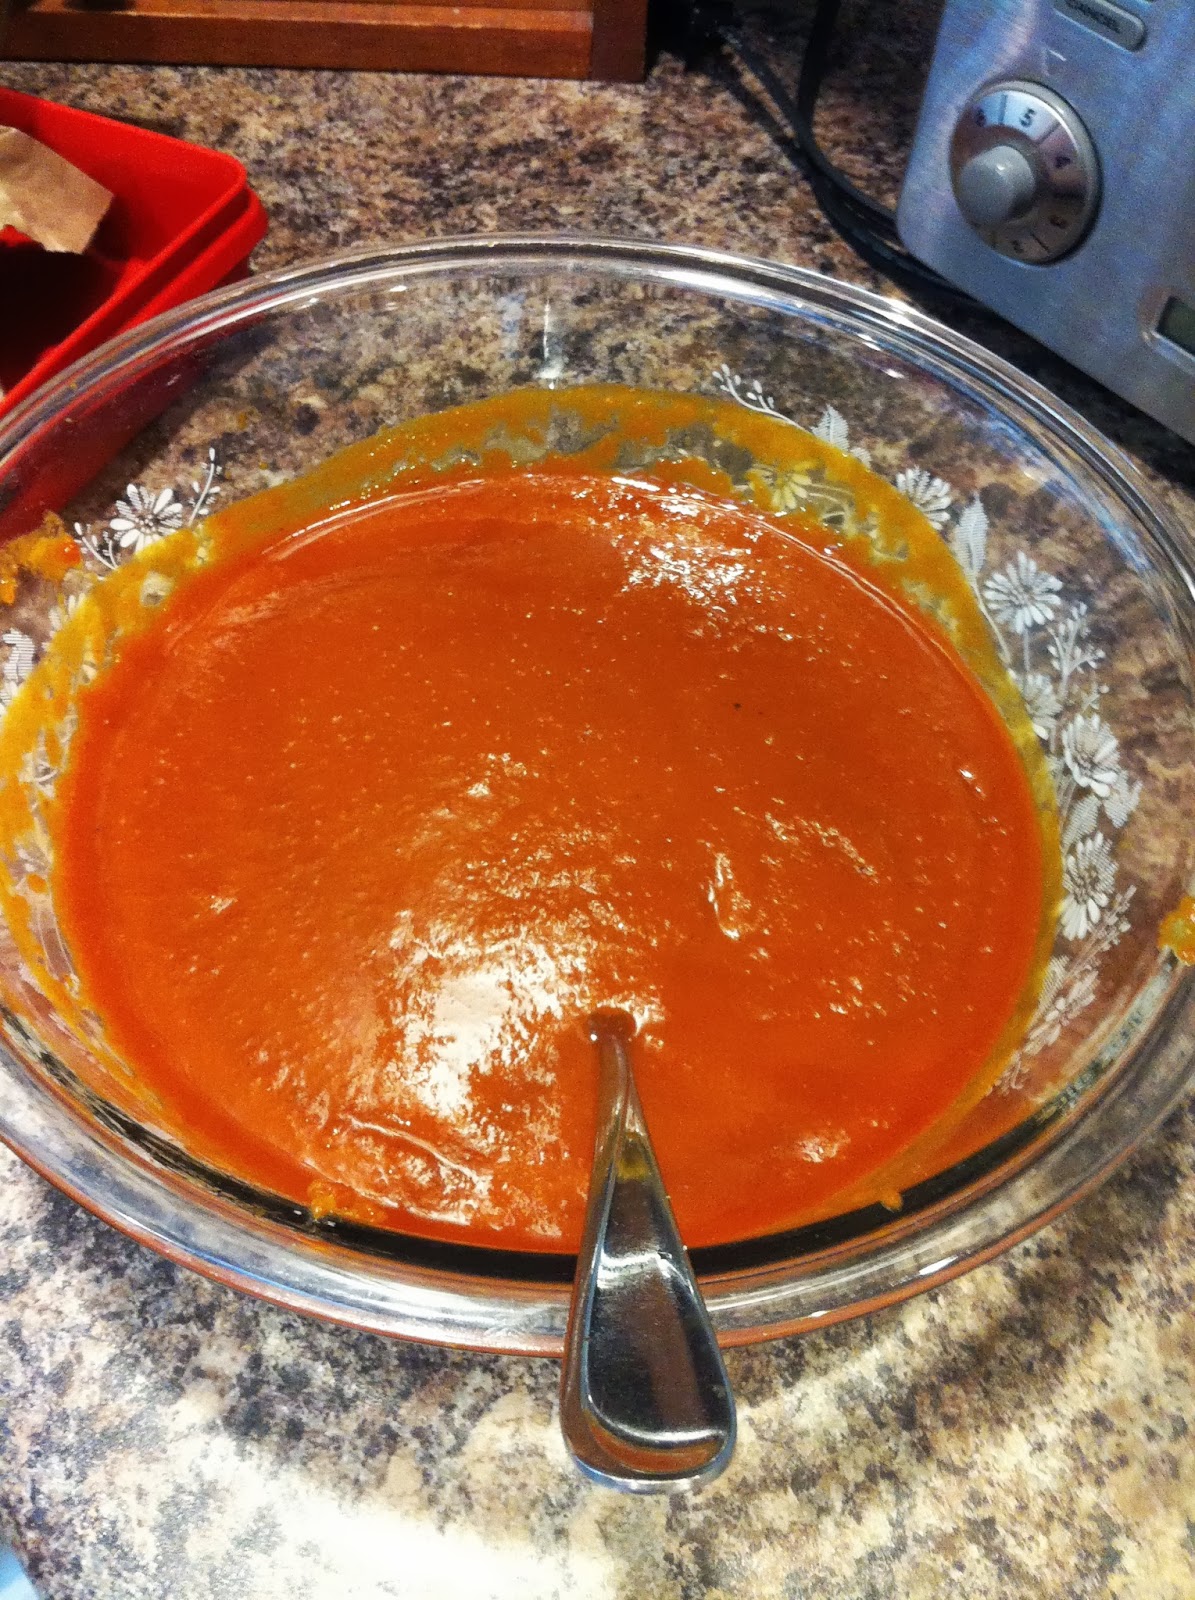
Margarita Curd
~Combine butter and sugar in a microwave safe bowl and whisk until sugars have dissolved.
~Add zest, juice and tequila and whisk.
~Add in egg and whisk well.
~Place mixture in microwave and microwave for 30 second intervals, whisking in between each time. For a total of 3-4 minutes or until mixture remains on the back of a spoon.
~Run mixture through a sieve.
~Place in refrigerator to set.
Glaze
~Combine sugar and zest and mix well to evenly coat.
~With a toothpick, poke a hole into one side and wiggle it around inside to open up the inside.
~With a pastry bag outfitted with a narrow and long attachment, pipe curd into the donut.
~Brush donut with melted butter and roll in the sugar/zest mixture.
~Allow butter to set and then eat right away.