While I believe I have already mentioned that I've had a love hate relationship with breakfast, the same holds true for lunch. I never used to dislike lunch. All that changed one day when I was sitting eating my lunch in middle school and my sandwich tasted off. So, I opened it up and my 'fresh' deli sliced black forest ham was glowing iridescent. It wasn't even the vacuum sealed junk that really isn't meat and has an expiry date of 4 years from now and would survive the apocalypse. No, I'm talking the stuff that you watched the deli person slice in front of you. Not a word of a lie. This quickly put me off of sandwiches and unfortunately, if you are taking a bagged lunch there aren't many other options than sandwiches. For a long time then I ate heavily processed frozen dinners and leftovers when we had some.
In our house, we always ate wraps cold. We didn't heat up the fillings and we definitely did not put them in a panini press. It was basically just another means for eating your ham and cheese sandwich. Thanks but no thanks. When I lived in the dorms at university, they had a great little sandwich place. And by great I mean the food was worth the 15 minute long line up (because it was the best option available *shudder) that you had to wait. Oh yeah, did I mention there was only one other person in this line up. To put it nicely, they were slow moving unambitious workers who couldn't talk and work at the same time (a bit harsh? Sorry it's the truth). But anyway, they made great sandwiches. And the wraps, this was where I really got introduced to the concept of panini presses. So while I don't miss university at all (that's a story for another time), I did find myself missing grilled wraps. Well lo-and-behold a few months ago a cousin decided he was not wanting his George Foreman Grill any longer and donated it to us. While I know this is not the same thing as a panini press, it still works just fine. And ever since I have been counting down the days until the weekend so I can have my grilled wrap, because I don't think they'd take too kindly to me showing up every day to work lugging this big grill and all the fixings for my lunch. I've tried all sorts of combinations and I've basically settled on a great low calorie one. It really is all dependant on what's in the fridge at any given time but I'll give you the base line and you are free to go from there. The secret though...a pinch or two of cumin (my latest obsession). It adds some amazing flavour, and it's flavour you can't get from hot sauce because I find there is a very fine line between getting good flavour from the hot sauce and having too much on and getting an awful taste (not just hot, I find it almost bitter at times. I don't know.) In the directions of this recipe I've put in my two-bits about how to avoid this. And, while I know these aren't really Mexican, I'm really at a loss for what to call these, so that's what they're stuck with. Because the amazing creation my brother came up with one day holds the title of Southwestern Wrap. Maybe I'll share it one day with you. If I ever get up the nerve to consume that many calories in one sitting (outside of the dessert menu). It's a little unsettling to say the least. But for now, I'm going to stick with this healthier option.
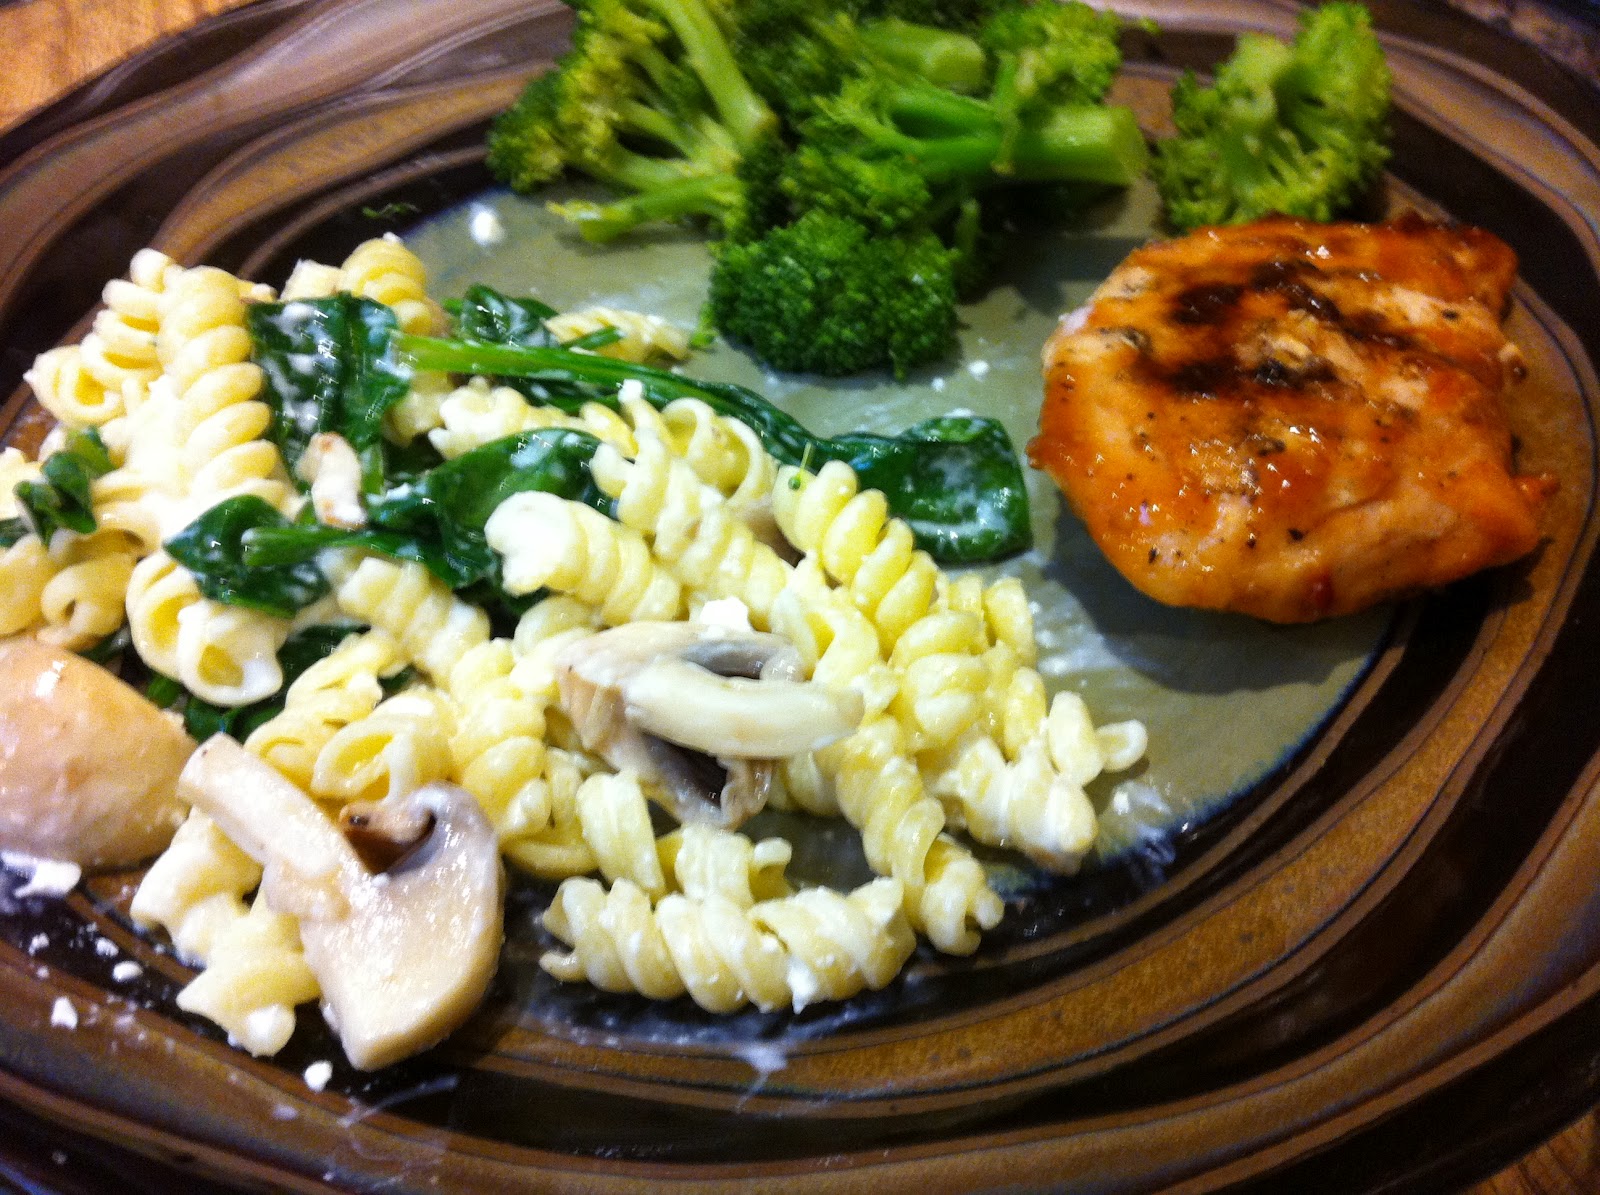
If you do want to change things up a bit, this is also good with a light coating of refried beans, a sprinkle of cheese and some rice. Or any combination of the above and below.
Ingredients
Makes 1 Wrap
1 Tortilla Wrap
1/3 Red Bell Pepper
1/4 C. Onion, sliced
1/2 Chicken Breast
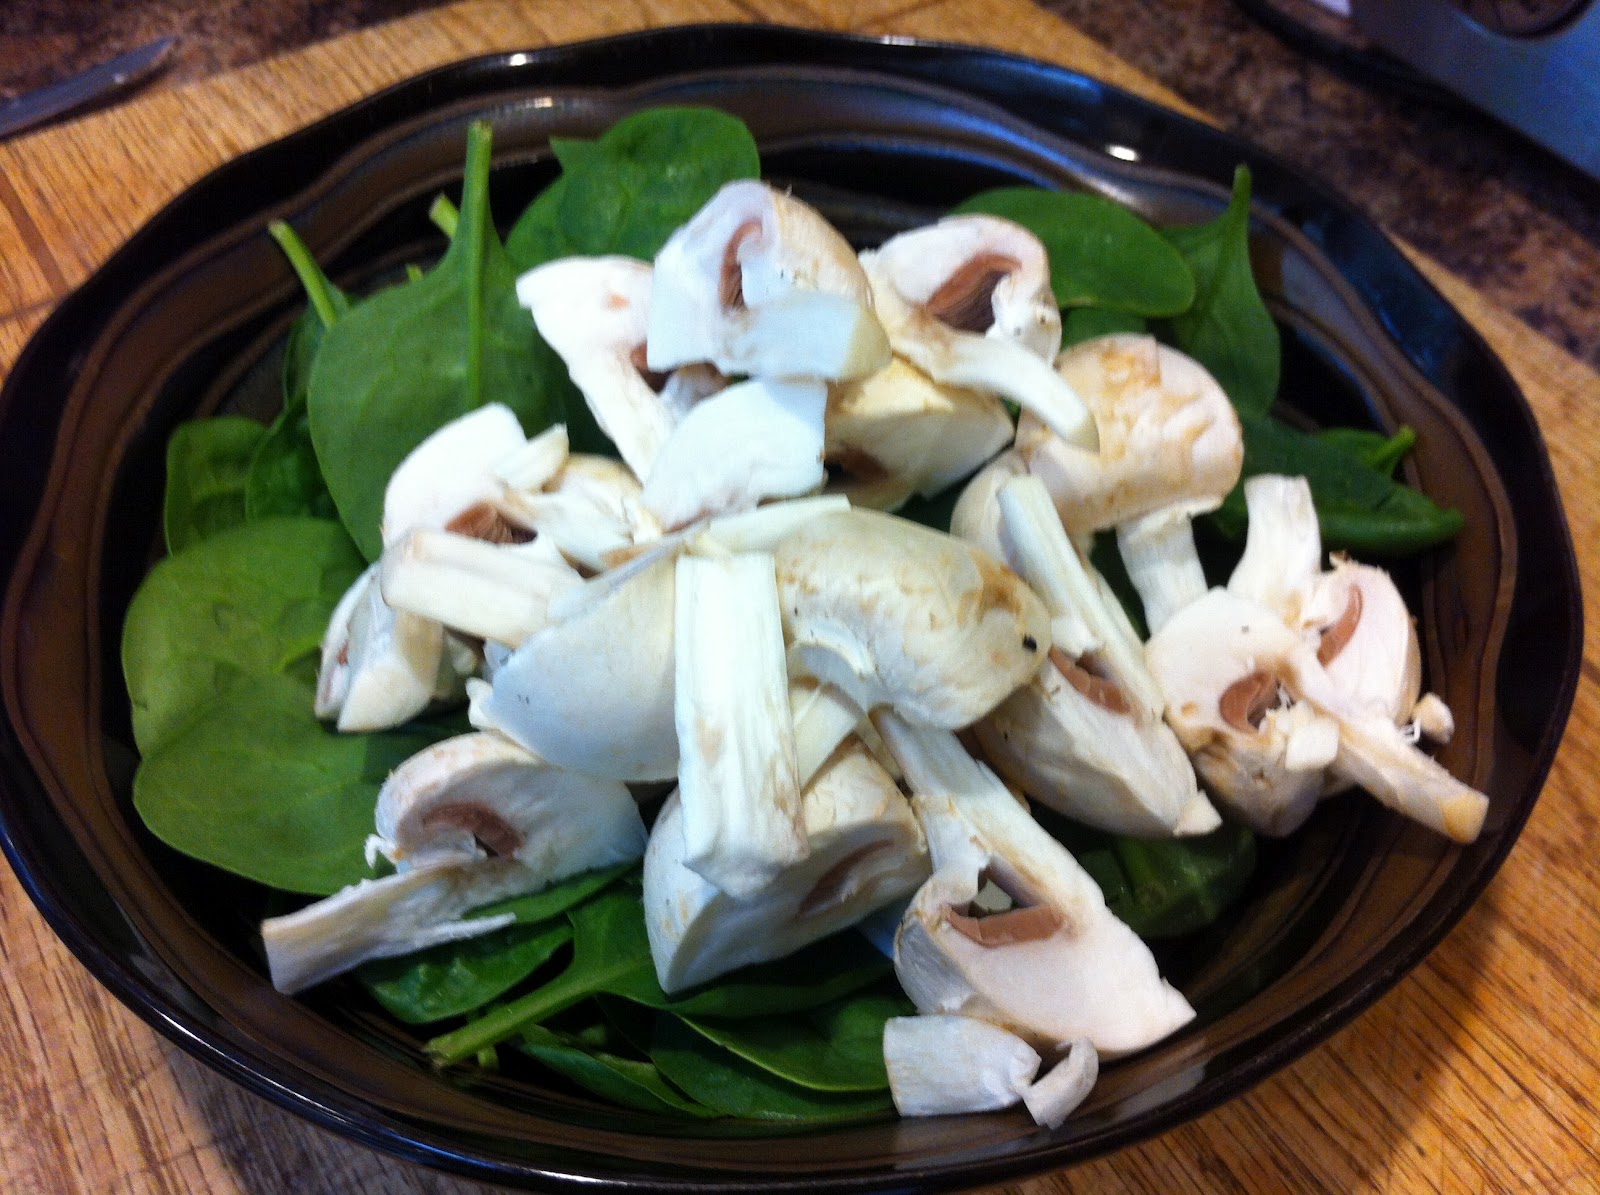
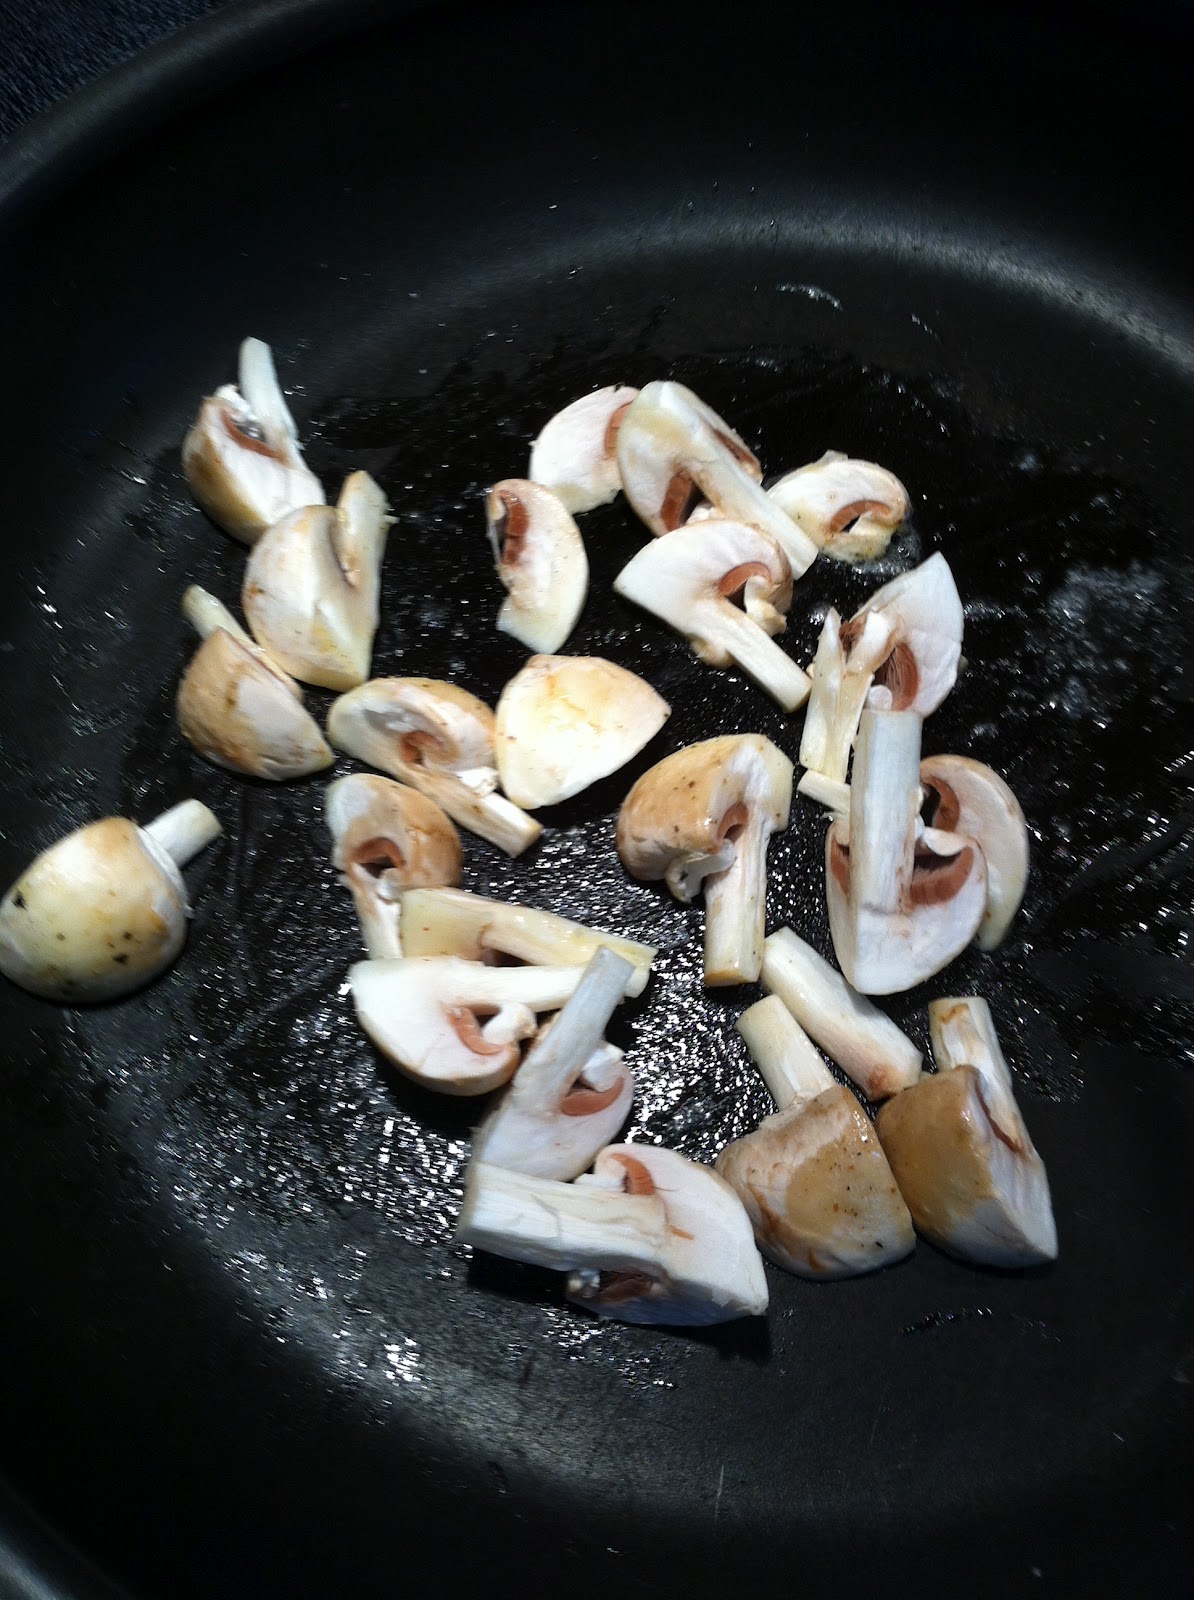
1 Mushroom
Pinch (or two) of Cumin
Dash of Hot Sauce (I used Frank's Red Hot Sauce)
Directions
~Cook your chicken breast anyway you like (or if you're like me, this cleans out the leftover chicken from the night before. Plus, it's better if you're putting all cold ingredients in the wrap, they'll heat more evenly when the wrap is grilled then.).
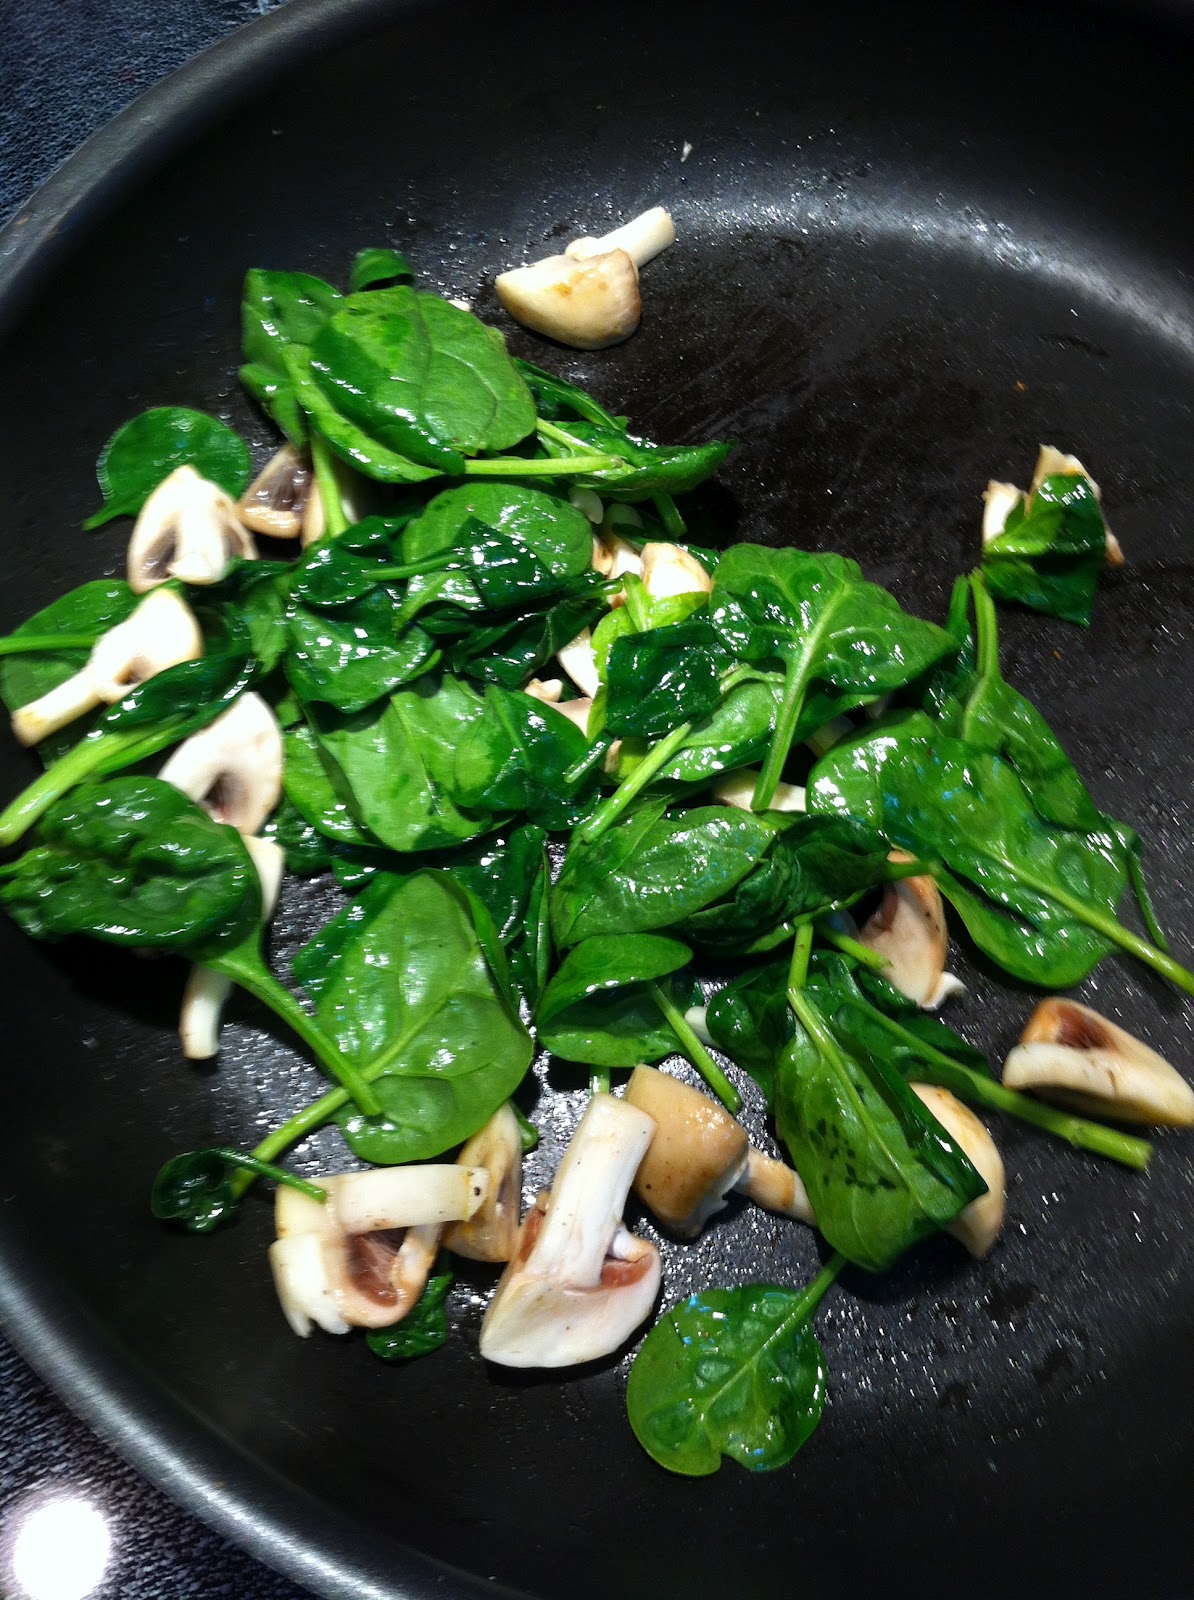
~Clean your pepper and mushroom.
~Slice the pepper, onion, mushroom and chicken breast into slices.
~Get your panini press or grill heating.
~On a dinner plate, place your wrap. Down the centre, lay out your mushrooms, onion, pepper and chicken.
~Sprinkle the cumin over the fillings.
~Top with as much hot sauce as you'd like (make sure it's evenly spread out and not just in big globs).
~Roll up your wrap, making sure all ends are tucked in and sealed so no juices can leak out.
~Place your folded up wrap on the press / grill. And grill until the wrap is toasted on the outside (but not black).
~Remove wrap from the press and cut in half. Let it sit for a minute to cool slightly. (Be careful the fillings do get extremely hot).
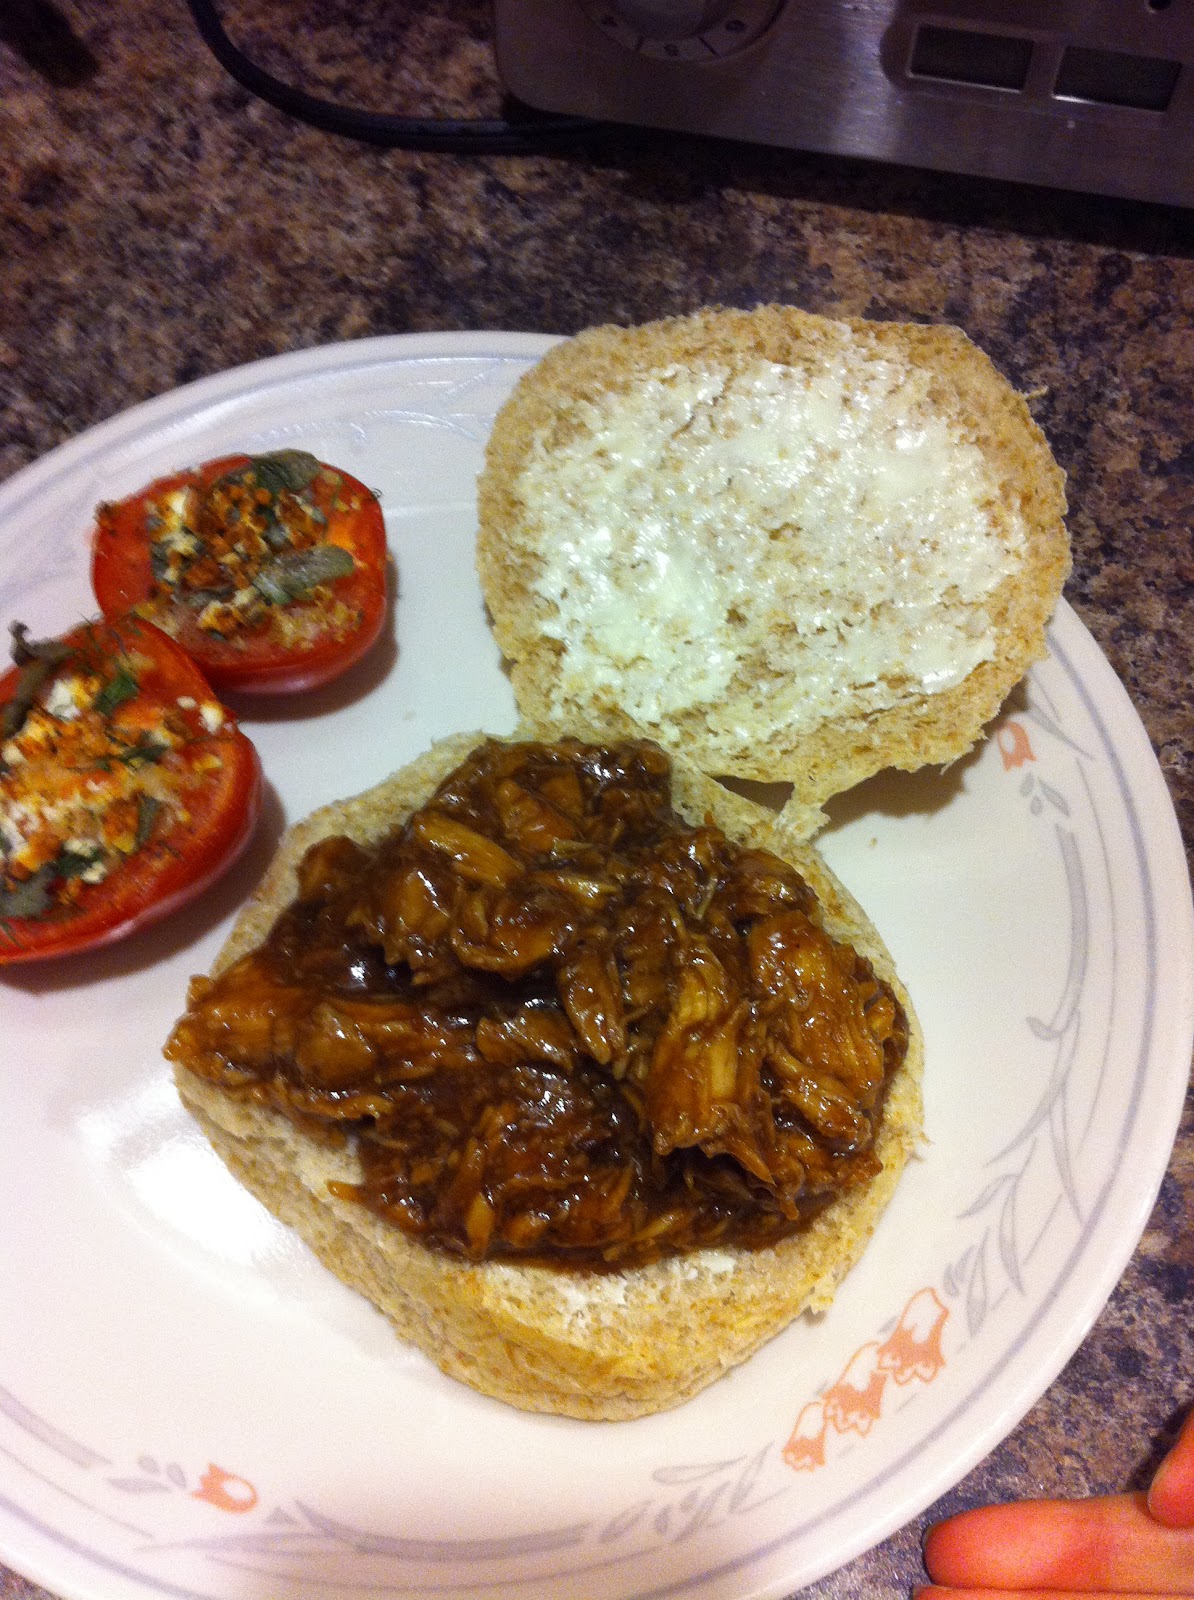
~Now what I do to get an even taste of hot sauce is I pour a little bit of sauce on my plate and with the back of a spoon I scoop some up. I then rub the back of the spoon lightly across the edges of the wrap. Coating it just nicely in hot sauce. Then you let it sit for a minute and 'dry.' All the moisture from the sauce soaks into the wrap and you are left with the flavour of the sauce, without the kick. You can see in the picture below the red line down the side of the wrap. That's the Hot Sauce.
Enjoy